Sunday, January 31, 2016
Christmas Card Challenges #9
It's time for another challenge over at Christmas Card Challenges. This week we have some color inspiration. It's time to start thinking about next year, so why not get started on next years card while your Christmas products are still close at hand. I can't wait to see what you create.
I used a DCWV Christmas stack to create this card. I love to make cards using papers from the same stack and just using parts of the large 12x12 papers. I added the Ellen Hutson "Joy" die cut that I covered with brown Stickles and then I added some red and gold Stickles to the wreath just to make it look more polished. Adding some bling helps to finish off simple cards and make them look much more classy. Thanks for stopping by!
Sunday, January 24, 2016
PaperArtsy Hearts Challenge
I made this Hearts painting on a wood block I found at a construction site. The hearts are from a PaperArtsy Stamp set by Emma Godfrey Set #13. I just loved these hearts. I created the background after watching a video by Leandra, the owner of PaperArtsy. They have tons of educational videos and I really love their Fresco Chalk paints and stamps. Here is a link to the PaperArtsy YouTube Channel. Here is the video I watched to make this background. I put the paint on the cut and dry foam and rubbed it on the piece of wood. Before doing this I covered the wood block with gesso and then Chalk Fresco paint.
I had done something else on this wood block that I ended up not liking so it has some texture and patterns in it that show through in the end.
When I was happy with the background, I stamped on the hearts. I had previously stamped the hearts on paper and cut them out to make masks for this process.
To paint the hearts, I used the Cherry Red paint mixed with some Chalk paint for the smaller hearts. I added some water to Amethyst paint to make it a little see through. I stamped the sentiment with Staz On Black Ink and cut it out. Since I only had room for three lines I had to add the last two words to the third line. After I cut out the sentiment I added black marker to the edges. I adhered the sentiment and sealed the wood block with a coat of DecoArt DecoPage when I was finished. I just love this little wood block of hearts with an encouraging sentiment.
These are the paints I used to make the background.
I had done something else on this wood block that I ended up not liking so it has some texture and patterns in it that show through in the end.
When I was happy with the background, I stamped on the hearts. I had previously stamped the hearts on paper and cut them out to make masks for this process.
Christmas Card Challenges #8
It's time for another challenge over at Christmas Card Challenges.
This week we have Photo Inspiration. It's time to start thinking about
next year, so why not get started on next years cards now? I can't wait
to see what you create.
I was inspired by the colors and the candy. I created my background by stamping a large Hero Arts Background stamp with Versamark ink and then I brushed Perfect Pearls in the Perfect Pearl Color over it. It makes a subtle, yet shiny background and it's so easy. I used a Tim Holtz blueprint stamp that I stamped twice, once in Ranger Archival Aquamarine and once in Paptertrey, Ink Raspberry Fizz. The pink paper is also Raspberry Fizz. The blue was a scrap. Thanks for stopping by!
Monday, January 18, 2016
Ellen Hutson Mix It Up Challenge with My Favorite Things
I'm finally making a card for the current Ellen Hutson Mix it Up Challenge. You have to use Ellen Hutson products and products from My Favorite Things. On my card I used two stamp sets and one die set from My Favorite things - "Winter Warmth" for the background images and "Let's Get Cozy" for the Sentiment, and "Hot Cocoa Cups" Dies for the mugs. I also used the three little snowflake stamps from the Ellen Hutson set called "Holly Jolly" on the background.
To create the background, I stamped images from the stamps sets in Versamark Ink and then brushed on Perfect Pearls in the color of Perfect Pearl. This made the images a little shiny, they really catch the light in the pictures. In real life they aren't that bright. It's a great way to make a fun background. I saw the technique in a Jennifer McGuire video. I would like to it, but I watched a ton of her videos a few weeks ago when I got a new smart TV in my craft room and I'm not sure which one it was.
I used paper from my scrap paper box to make the mugs, hearts, and whipped cream images. To make the sentiment I heat embossed Zing Teal Metallic Embossing Powder. I can't believe how the embossing color matched the mugs!! This was a super fun card to make. I'm so happy for the inspiration. I haven't used any of these stamp sets or dies before today. Thanks for stopping by!
To create the background, I stamped images from the stamps sets in Versamark Ink and then brushed on Perfect Pearls in the color of Perfect Pearl. This made the images a little shiny, they really catch the light in the pictures. In real life they aren't that bright. It's a great way to make a fun background. I saw the technique in a Jennifer McGuire video. I would like to it, but I watched a ton of her videos a few weeks ago when I got a new smart TV in my craft room and I'm not sure which one it was.
DecoArt Winter Wonderland Challenge
Welcome to my blog. Today I have a pretty long post. I decided to make a project for the DecoArt Winter Wonderland Challenge. I made a little box with a snowflake on the lid. The box is about 5 inches tall and 4 inches wide. I wanted the colors to be wintry blues and purples. I used a ton of DecoArt products and tried to take photos along to way to show you and remind me of all the products I used.
Here's the final box.
Directions for how I made it all with tons of DecoArt products are below.
Here is the paper box and the chipboard snowflake.
I bought them at Hobby Lobby.
First, I covered them with DecoArt Media Gesso
Then I mixed some DecoArt Media Fluid Acrylics in Purple and White and painted the box.
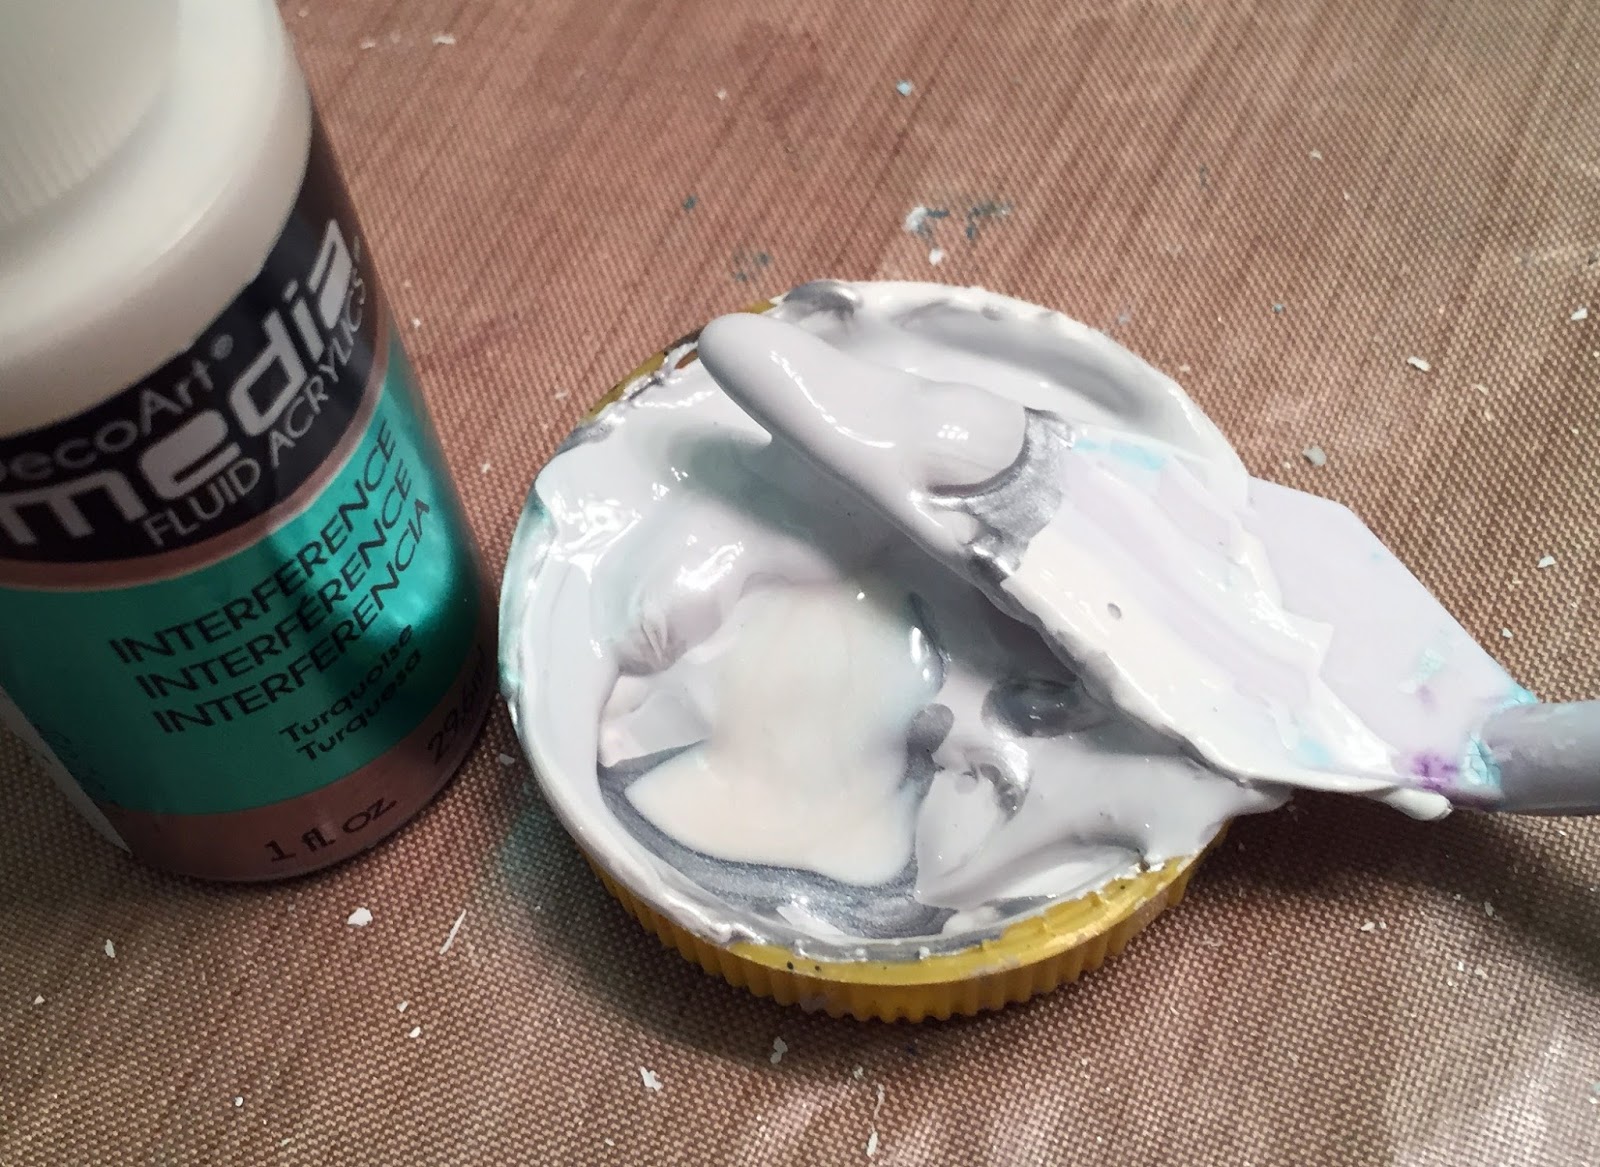
I wanted to add some shine so I painted a coat of DecoArt Media Turquoise Interference.
Next I mixed some DecoArt Media Shimmer Mister in Turquoise with some Media Crackle
Paste and covered the box and the lid.
At this point, the amount of the crackle will be dependent on how much crackle paste
you apply. I applied varying amounts in different places to get a random look.
I love how you can see the purple through the cracks.
NOTE: I find it's best to wait over night to work with the crackled area, because it continues to crackle for a really long time.
At this point I thought the box was little too light so I brushed on some of the Turquoise Shimmer Mist. I love how it filled the cracks and added some depth to the box.
As I brushed it on, I immediately rubbed the excess off with a paper towel to get more variation in the color.
To give it another layer of dimension, I randomly rubbed some
DecoArt Silver Metallic Lustre all over the box and lid.
And finally, I brushed on a layer of DecoArt Fuschia Twinkles. I just squirted some of the Twinkles Writer out of the container and used a brush to apply it for some more sparkle.
I was finally happy with the box, so it was time to get to work on the snowflake. It already had DecoArt Media Gesso on it.
I mixed up some DecoArt Media Silver Metallic paint with some Media Crackle Paste to put on the snowflake. Then I decided to add some Turquoise Interference.
At this point I still didn't think it was dark enough to contrast with the white snowflake when it crackled, so I added some of the DecoArt Media Purple Fluid Acrylic and I couldn't help myself so I added some of the DecoArt Fuschia Twinkles. That made the mixture pretty lumpy so I decided to go ahead and put spread it on the snowflake.
After letting it dry over night, I added some DecoArt Gloss DecoPage
to add another shiny layer and to adhere it to the box top.
This is what it looked like before it dried.
Here are some pictures of the final box.
Subscribe to:
Posts (Atom)